Planning physical tickets for different event access levels
Dividing your venue into standard, premium, and restricted zones requires a solid plan for issuing distinct physical event tickets. When each access level has a specific ticket type, your staff can easily direct guests to the right areas and prevent congestion at barriers. A well-planned ticketing structure reduces confusion at entry points, keeps queues moving smoothly, and helps you maintain order throughout the entire venue.
Visual differences between standard and premium event tickets
Designing visual differences into your tickets allows staff to verify access rights instantly during busy arrival periods. Simple visual cues ensure that volunteers and security teams do not have to inspect every detail closely when managing large crowds. Using clear layouts and bold designs speeds up crowd control and improves the overall visitor experience.
Choosing distinct ticket colours
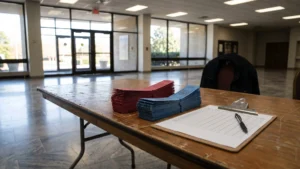
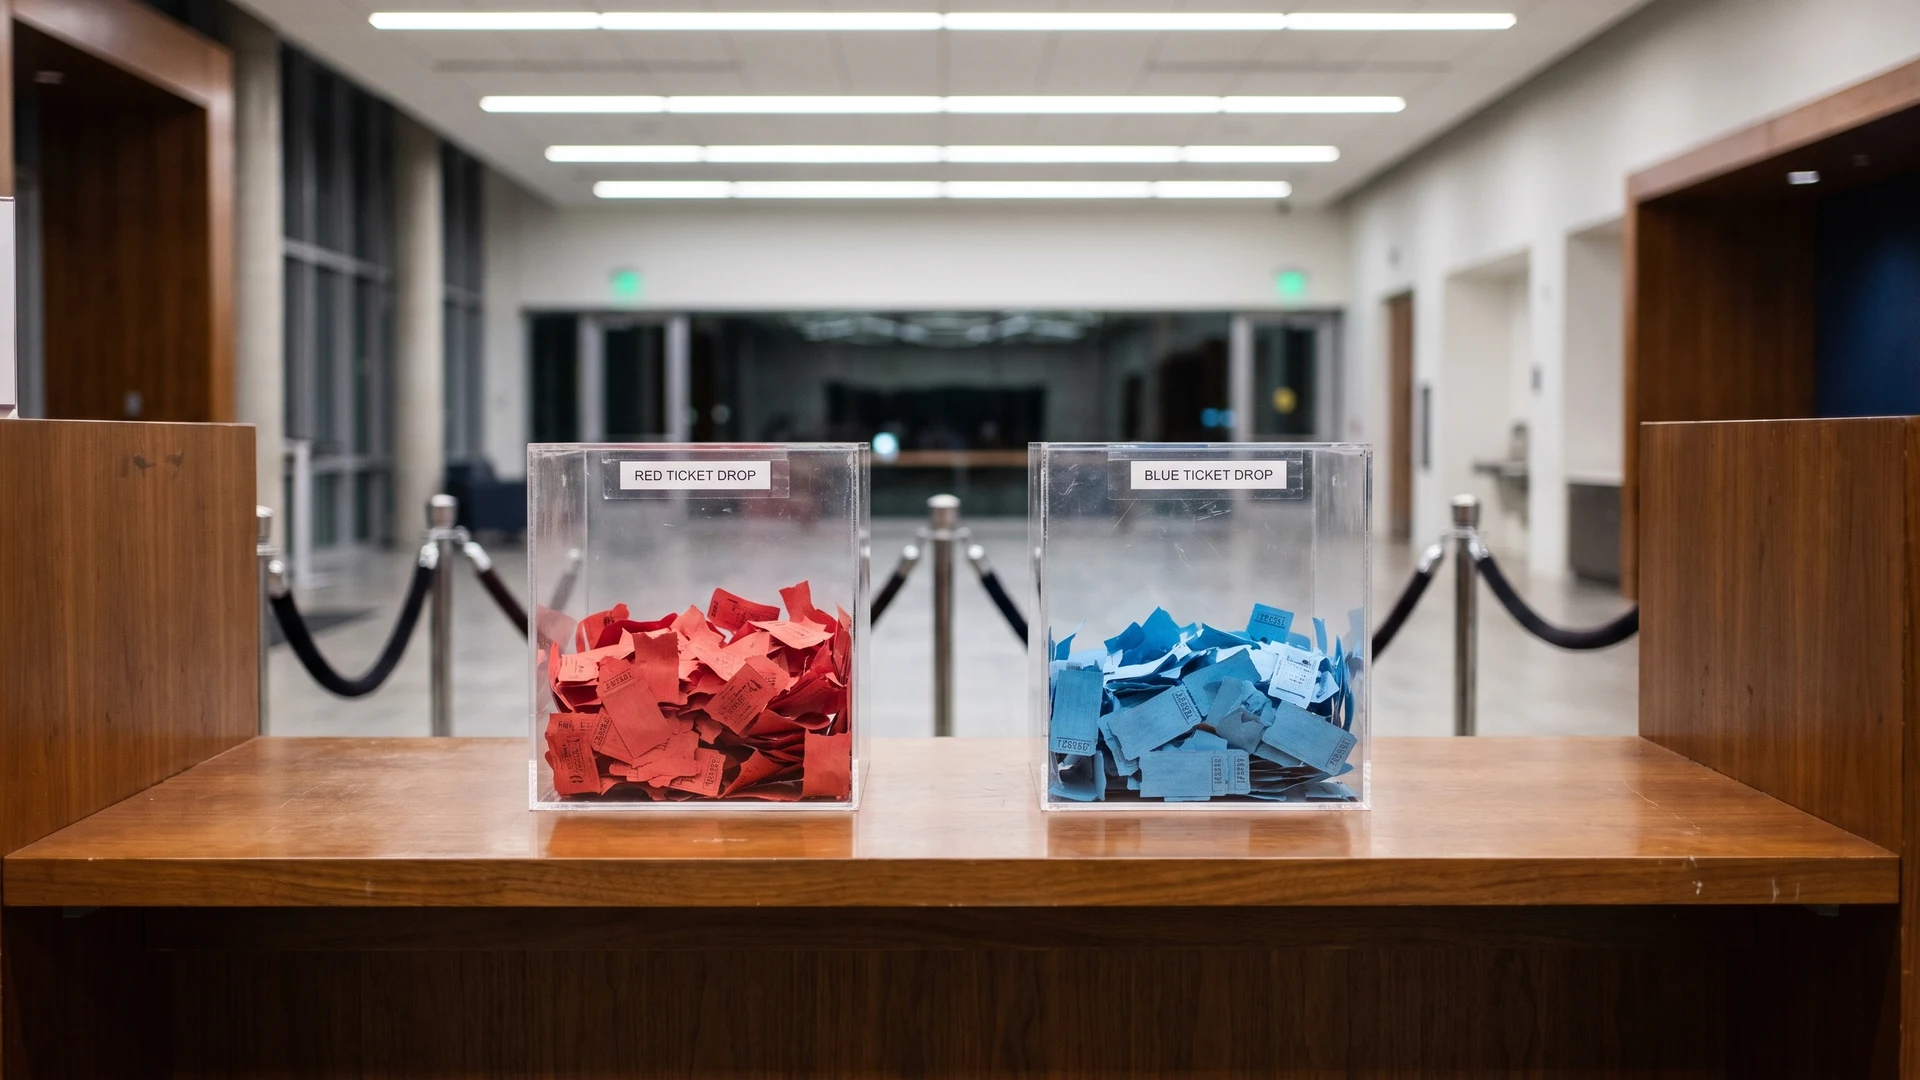
Assigning a completely different background colour to each access tier is the fastest way for staff to recognise standard or premium guests. You might use a bright red for general admission and a deep blue for premium areas to create a stark contrast. This visual separation helps volunteers wave the correct visitors through immediately and stops unauthorised entry before a guest reaches the barrier.
Adding clear zone wording
While colour provides an instant signal, clearly printed text confirms the exact zone and prevents misunderstandings if lighting is poor. Printing large words like “Premium Seating” or “General Access” directly across the top of the ticket gives staff an undeniable reference point. This clear wording removes any ambiguity for the guest and makes it easier for your team to enforce venue boundaries.
Using specific numbering for designated seats
When your premium tickets include reserved seating, sequential numbering provides a precise location for every guest. The sequence gives every ticket a unique number within a defined series, which matches the layout of your physical seating plan. This exact matching guides visitors directly to their places and gives staff the information they need to resolve any seating disputes quickly.
Distributing physical tickets for restricted event zones
Handing out physical tickets for backstage, Very Important Person (VIP), or limited access areas requires tight control to maintain venue security. You must ensure that high-tier event tickets only go to authorised individuals, which means managing the distribution flow carefully before the event begins. A strict handover process prevents these valuable tickets from circulating among general admission guests and compromising restricted zones.
Organisers should keep a detailed log of exactly who receives each premium or restricted access ticket. This tracking process gives your venue managers complete oversight and ensures that you can identify the source if an unauthorised person attempts to enter a secure area. Securing the distribution phase builds a strong foundation for your door staff and makes the actual event day run much smoother.
Setting up effective ticket checks at doors and barriers
Establishing a clear operational sequence for checking tiered physical tickets prevents bottlenecks at your entry points. Your staff need active guidance on exactly how to process each arrival quickly without causing delays for the guests waiting behind them. Following a concrete step-by-step verification method ensures that every ticket is checked properly and every visitor is sent to the correct area.
- Verify visual details: Staff must first check the ticket colour and large printed wording to confirm the guest is at the correct entrance. This immediate visual check stops visitors from queuing in the wrong place and causing frustration. Catching these errors early keeps the main flow of traffic moving smoothly toward the venue.
- Detach the stub: The team member tears along the perforation, which is a line of small punched holes designed for easy separation. They keep the venue portion for later counting and return the remaining half to the visitor as proof of entry. This physical tearing process guarantees that the same ticket cannot be handed back to someone else outside.
- Direct the guest: The staff member reads the printed numbering or zone information aloud while pointing the visitor toward their designated area. Giving clear verbal directions based on the ticket details empowers guests to navigate the venue independently. This simple communication step reduces the burden on your directional staff inside the main hall.
How sequential numbering helps guests find their designated areas
Printed ticket numbers create a direct link between the physical ticket in a visitor’s hand and the physical layout of your venue. This logical connection reduces the need for staff to escort every guest to their place. Organisers who map their sequential numbering systems directly to clear signage create a much more relaxing arrival experience for everyone.
Matching ticket numbers to venue signs
A sequential numbering system works best when your physical venue signs mirror the exact numbers printed on the tickets. You can place large signs at the end of each row or aisle that correspond clearly to the sequences in your seating plan. When the signage matches the physical ticket perfectly, guests can guide themselves through the venue without stopping to ask staff for directions.
Guiding visitors to tiered seating
Complex venues with distinct standard and premium tiers benefit greatly from specific number ranges for each section. You might assign numbers one through five hundred to standard seating, while reserving higher numbers exclusively for the premium balcony. Grouping these sequences logically helps visitors understand the venue layout quickly and directs them toward the correct staircases or access doors.
Resolving seat disputes quickly
Even with clear signage, visitors occasionally sit in the wrong place or confuse their designated row. Having a precise sequential number printed on the ticket provides undeniable proof of exactly where a guest belongs. Staff can simply check the physical tickets of the people involved and resolve the situation calmly, restoring order without causing a major disruption.
Adding clear instructions to event tickets
Printing specific venue rules or directions directly on the physical ticket transforms it into a highly practical communication device. When you include details like opening times, prohibited items, or cloakroom locations on the back of the ticket, you give visitors immediate access to essential information. This proactive approach builds visitor confidence upon arrival and ensures they know exactly what to expect before they reach the main doors.
Using the ticket as an information tool significantly reduces the number of repetitive questions your staff have to answer at the entrance. Volunteers can focus on scanning crowds and managing access levels instead of explaining basic venue policies to every passing guest. Clear printed instructions help your entire event run more efficiently and create a much smoother experience for both visitors and staff.
Steps for tracking and reconciling collected event tickets
Once the event concludes, administrators and procurement leads must audit the collected tickets to track attendance and evaluate the system. A reliable post event reconciliation process helps your team identify any discrepancies between the tickets issued and the stubs collected. Following clear operational steps ensures that you manage revenue accurately and gather useful data for future planning.
- Gather all collected stubs: Your team needs to collect every torn stub from the various door staff and barrier locations across the venue. Keeping the standard and premium ticket stubs physically separated during this collection process prevents unnecessary confusion later. Gathering these items securely ensures that no data is lost before the counting begins.
- Count and record each tier: Administrators must count the stubs for each access level independently to calculate the exact attendance per zone. Recording these totals on a master sheet allows you to compare the final numbers against your initial ticket distribution logs. This precise counting process reveals exactly how many guests utilised each specific access tier.
- Investigate any discrepancies: If the number of collected stubs does not match the number of tickets handed out, your team should review the distribution process. You can use the sequential numbers to pinpoint exactly which tickets are missing from the final sequence. Identifying these gaps helps you understand if tickets were lost, unused, or bypassed during the entry phase.
Reviewing your physical ticket strategy for future events
Refining your ticket tiers and access levels after an event requires a careful review of what worked well and what caused delays. You should gather feedback from your door staff to determine if the ticket colours, layouts, or numbering systems need adjustments for the next occasion. Taking the time to evaluate these physical processes ensures continuous improvement and helps you build increasingly reliable ticketing strategies. If your team needs further educational resources on physical ticket management, you can explore objective information through Coupon Tickets or reach out to contact@coupontickets.com for general enquiries.
What should each tiered event ticket include to prevent mix-ups at doors?
Start with tier name, permitted area, and any seat or zone code in large type. Add a clear line such as Premium balcony access only. Use colour plus a pattern, not colour alone. Include a unique number and, if needed, a perforation, a tear line, for a retained stub.
Is colour enough to separate standard, premium, and restricted access?
No. Pair colour with bold wording, a simple symbol, and a pattern or punched corner. Aim for high contrast so checks work in low light and for colour-blind guests. Give staff a small legend showing each tier and where it admits.
How should I number tickets across tiers for accurate reconciliation?
Choose one continuous number series for all tickets or set separate ranges per tier. Assign blocks to sellers and record start and end numbers. Note any voids or spoiled tickets. After the event, compare issued, collected, and remaining numbers to confirm attendance and find discrepancies.
What is a simple way to handle re-entry and movement between areas?
Retain a stub at first entry using a perforation, the tear line, and issue a wristband or hand stamp for same-day re-entry. Print gate or door codes on tickets to direct guests. For restricted zones, add a separate pass or clip. Document upgrade rules in advance.
How can my team check tickets quickly without slowing queues?
Create separate lanes for each tier and place clear signs at decision points. Train staff to check two elements on every ticket, such as tier wording and an area code. Use sample tickets during briefing. When a guest is in the wrong lane, redirect before tearing or admitting.